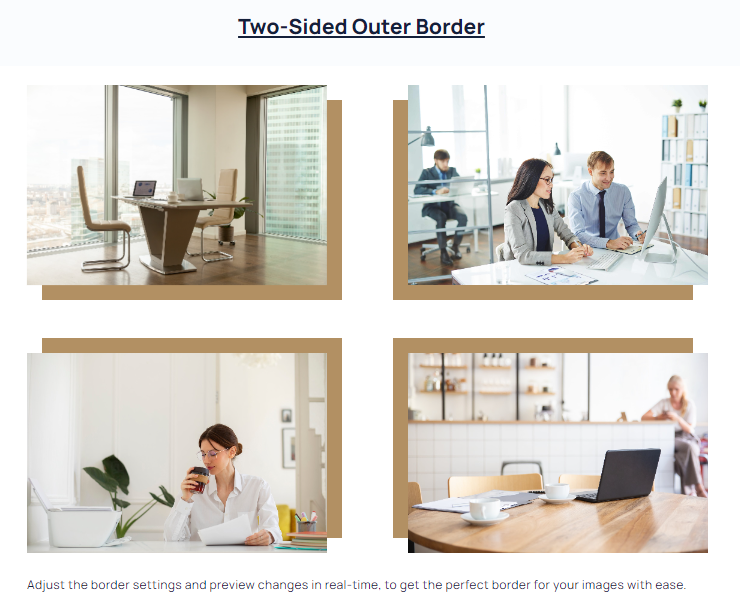
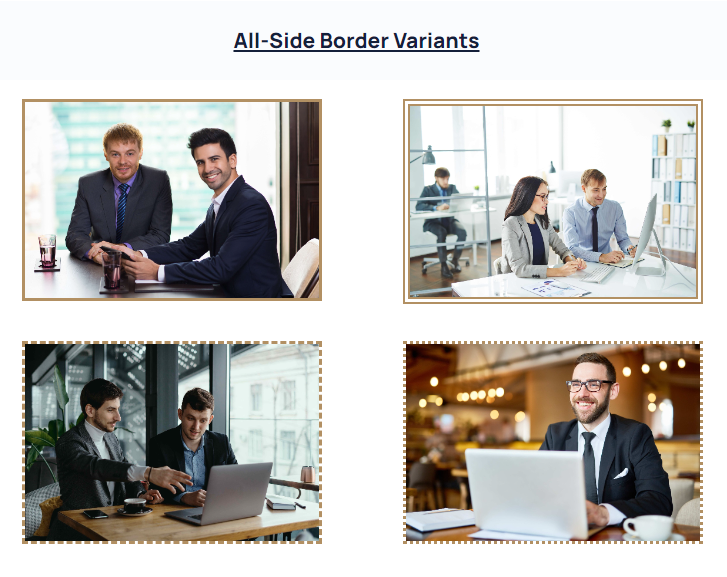
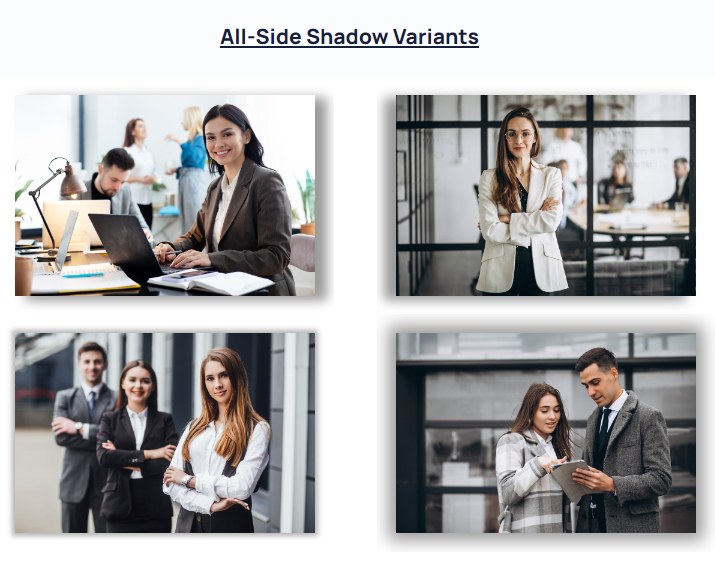
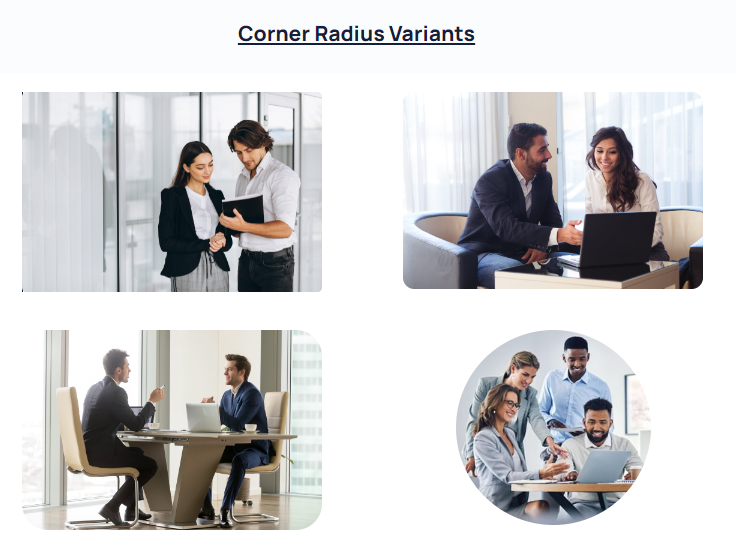
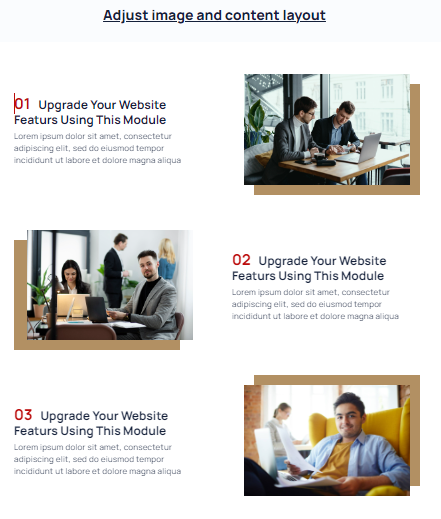
'Photo Image With Flexible Customization' module as the name implies, is the powerful tool you always wanted to create stunning image layouts and designs "with ease". This module enhances your website's image capabilities with advanced customization options. Here, you'll find a comprehensive guide that will help you get started with the module, and learn how to make the most of its features. Whether you're a seasoned developer or just getting started with website building, this documentation page will provide you with everything you need to know about creating images that are visually appealing, more engaging and help you stand out.
If you need assistance at any step of the way; get in touch with us at support@transfunnel.com.
And get Premium Support from Transfunnel - HubSpot's Elite Solutions Partner
Layout Options: The "Photo Image With Flexible Customization Documentation Page" module offers a range of layout options to help you showcase your images in the best possible way. You can choose from grid, masonry, and list layouts to create a beautiful and functional display for your images.
Grid Layout: The grid layout option allows you to display your images in a neat and orderly grid format. You can customize the number of columns and rows, as well as the spacing between each image, to create the perfect grid for your website.
Masonry Layout: The masonry layout option is a more flexible option that allows you to display images of varying sizes in a dynamic and visually appealing way. The module automatically adjusts the size and position of each image to create a unique and eye-catching display.
List Layout: The list layout option is a simple and straightforward option that allows you to display your images in a list format. You can customize the size of each image and the spacing between them to create a clean and organized display.
No matter which layout option you choose, the "Photo Image With Flexible Customization Documentation Page" module provides a powerful and flexible solution for showcasing your images on your website.


Insert link: Add a hyperlink to your image to redirect the viewer to a relevant website or page. This can be used to link to a portfolio, social media profile, or any other related content.
Insert text: Add text to your image to provide context or a brief description. The text can be customized with various font styles, sizes, and colors.
Border: Add a border to your image to give it a more defined look. The border can be customized with different colors, thickness, and styles.
Spacing: With this feature, you can control the spacing between the image and other elements on the page. This can help to create a more visually appealing layout.
Alignment: You can align your image to the left, right, or center of the page. This feature can be used to create a balanced layout or to emphasize the image.
Shadow: Add a shadow effect to your image to give it a 3D effect. The shadow can be customized with different colors, opacity, and distance from the image.
Filter: Add filters to your image to change the colors, brightness, or contrast. This can be used to create a specific mood or tone for the image.
Animation: Add animation effects to your image to make it more dynamic and engaging. The animation can be customized with different styles, speeds, and directions.
In addition to these features, the photo image module also allows you to choose from different layout options, such as grid, list, or carousel, and to customize the image size and aspect ratio. You can also upload your own images or choose from a selection of pre-designed templates.
This feature allows you to make any image on your website clickable by adding a link to it. You can choose to open the link in a new tab or in the same tab, and you can link to any page or resource on your website or any external website. This feature is easy to use and can help improve user experience by making it easier for visitors to navigate your website.
To add a link to an image, simply select the image you want to link and then choose the option to add a link. From there, you can enter the URL of the page or resource you want to link to, and choose whether to open the link in a new tab or in the same tab.
With this feature, you can also add other features to the image such as borders, spacing, alignment, shadows, filters, and animations to make it stand out and draw attention to it.
The "Image with Text" feature is a powerful addition to any website, allowing you to seamlessly integrate custom text with your images. With this feature, you can choose to enable or disable text on the images to make them more visually appealing and conveying the correct message too.
You can simply upload the images, select the "Image with Text" feature, and customize the text to your liking.
This is perfect for businesses and individuals looking to showcase their products or services in an eye-catching way. By adding custom text to images, you can provide additional context and information about the offerings, which can help to increase engagement and conversions.
This is a versatile feature that enables you to add customised borders to the images. You can enable or disable borders and adjust various advanced settings such as border color, border alignment, and corner radius.
You can choose to add borders on two sides or all sides of the image, and adjust the border color to match the website's color scheme. The horizontal and vertical alignment options allow you to align image and border as you need.
In addition to the basic border settings, this feature also allows you to adjust the corner radius of the image. So, you can add rounded corners to images, giving them a more polished and professional look.
Whether you want to add a simple border to images or adjust advanced settings to create a unique and personalized look, the "Border Options" feature provides you with the flexibility to achieve the desired outcome. With just a few clicks, you can transform your images and make them stand out on their website.
With this feature you can easily adjust the margins and padding of your images. This can be particularly useful when designing a layout where images need to be spaced out in a specific way.
To give you the complete control over the placement of each element on the website, you can adjust the spacing for each image individually, choose to add spacing to the top, bottom, left, or right of an image, or any combination of these.
The margin controls the amount of space between the image and any surrounding elements, such as text or other images. The padding controls the amount of space between the edge of the image and its content, such as text or other graphics.
By adjusting the margins and padding to suit your needs, you can ensure that all elements on the page are properly aligned and spaced, creating a polished and professional appearance.
Additionally, you can also adjust the spacing for each image according to its position on the page. For example, you may choose to add more space to the left or right of an image that is located near the edge of the screen, to prevent it from feeling cramped or crowded.
Easily fine-tune the layout and appearance of your images, to create a visually stunning and cohesive website.
Images that are not properly aligned can be distracting and look unprofessional. With this feature, you can ensure that your images are aligned properly to give your website a polished and cohesive look.
To access the "Alignment" feature, navigate to the "Style" tab in the image module. From "Alignment" option you can choose the preferred alignment setting.
1. You can manage the horizontal alignment of your images: align image to the left, center, or right of the page.
2. You can also adjust the size and spacing of the images by using the "Spacing" and "Size" features in conjunction with the "Alignment" feature.
Want to add a subtle and professional touch to your images, then enable the shadow option to give your images a sense of depth and dimension, making them stand out from the page.
1. You can customize the shadow by adjusting its horizontal and vertical alignment, blur percentage, shadow size, and color. This will help you create a shadow that is tailored to your specific needs, whether it be a subtle and understated effect or a bold and dramatic one.
2. The horizontal and vertical alignment options allow you to precisely position the shadow relative to the image, while the blur percentage can be adjusted to make the shadow softer or more defined.
3. The shadow size option enables you to control the size of the shadow, allowing the shadow to create a subtle effect or a more pronounced one.
4. In addition to these settings, you can also choose the color of the shadow. You may match the shadow to the background color of the page or to create a contrast that makes the image stand out even more.
Whether it's for a website, blog, or social media post, the ability to add a customized shadow to an image can make a big difference in the overall impact of the content.
The "Image Filter" feature allows you to apply filters to your images to enhance their visual appearance. You can choose from two types of filters: sepia and grayscale. By adjusting the filter percentage, you can control the intensity of the filter effect applied to the image.
The sepia filter gives images a vintage, warm tone that is reminiscent of old photographs. This filter works particularly well for images that have a lot of natural light, landscapes, and portraits.
The grayscale filter, on the other hand, removes all color from the image, creating a black and white effect. This filter can be used to create a classic, timeless look or to add drama to an image.
You can easily adjust the filter percentage to fine-tune the effect applied to the image. This allows for more creative control and customization of the final result. The filter percentage can range from 0% (no filter effect applied) to 100% (maximum filter effect applied).
By applying filters and adjusting the percentage, go ahead and create a unique and visually compelling look for your images.
The "Hover Animation" feature allows you to add an interactive element to your images by enabling a hover animation. This animation can be customized to move the image in a specific direction on hover, adding an eye-catching effect to the image.
Simply enable the "Hover Animation" toggle in the image settings. Once enabled, choose the direction of movement for the animation: left to right or top to bottom from the dropdown menu.
You can also customize the duration of the animation by adjusting the animation speed setting. This determines how quickly the image moves on hover, giving you full control over the animation's timing.
The "Photo Image With Flexible Customization" module offers you a range of powerful features to enhance your images and make them more engaging. With options like text overlay, link insertion, border styling, and hover animations, you can truly make your images stand out. The module's intuitive interface and easy-to-use customization options make it a great choice for any website looking to improve the visual content.